Camera-Ready Makeup: How to Apply the Perfect Look for Great Photos

Camera-Ready Makeup: How to Apply the Perfect Look for Great Photos
Whether you’re posing for professional headshots, engagement photos, or just updating your social media profile, the right makeup can make all the difference. Cameras pick up details that the naked eye often misses, so makeup for photography requires a slightly different approach than your everyday routine. Here’s a step-by-step guide to creating a flawless, photo-ready look that enhances your natural beauty and shines under any lighting.
Understanding the Difference Between Everyday and Camera Makeup
Makeup that looks soft and natural in person can appear washed out or flat on camera. That’s because studio lights and flash tend to reduce contrast and color intensity. To counteract this, you’ll need slightly bolder shades and more defined lines than you might normally wear.
That doesn’t mean piling on heavy layers. The goal is balance: even skin tone, subtle definition, and a healthy glow that looks natural both in person and through the lens.
Start with a Smooth, Even Base
A great makeup look starts with great skin prep. Clean, hydrated skin helps makeup apply smoothly and last longer.
- Moisturizer – Choose a lightweight, hydrating formula suited to your skin type. It keeps your skin supple and prevents foundation from clinging to dry patches.
- Primer – Smooths texture, minimizes pores, and helps makeup stay put. A mattifying primer is ideal if you tend to get shiny under bright lights.
- Foundation – Opt for a foundation without SPF, as sunscreen ingredients can cause a white cast in flash photography. Apply with a brush or sponge for an even finish.
- Concealer – Use it under the eyes and on blemishes. A shade slightly lighter than your foundation brightens the face and adds dimension.
- Setting Powder – Lightly dust a translucent powder to reduce shine and lock everything in place.
Add Dimension with Contour and Highlight
Cameras can flatten facial features, so adding depth and structure is key.
- Contour: Use a matte bronzer or contour powder under the cheekbones, along the jawline, and at the temples. This adds warmth and definition.
- Highlighter: Apply a subtle highlighter to the tops of your cheekbones, the bridge of your nose, and your cupid’s bow. Avoid chunky glitter—soft sheen photographs best.
- Blush: A touch of blush brings life back to the face. Choose a shade that complements your skin tone and blend well for a natural flush.
Eyes That Stand Out on Camera
Your eyes are the focal point of most photos, so define them carefully without going overboard.
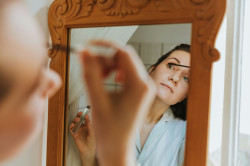
- Brows: Fill in sparse areas with a pencil or powder that matches your natural brow color. Well-shaped brows frame the face beautifully.
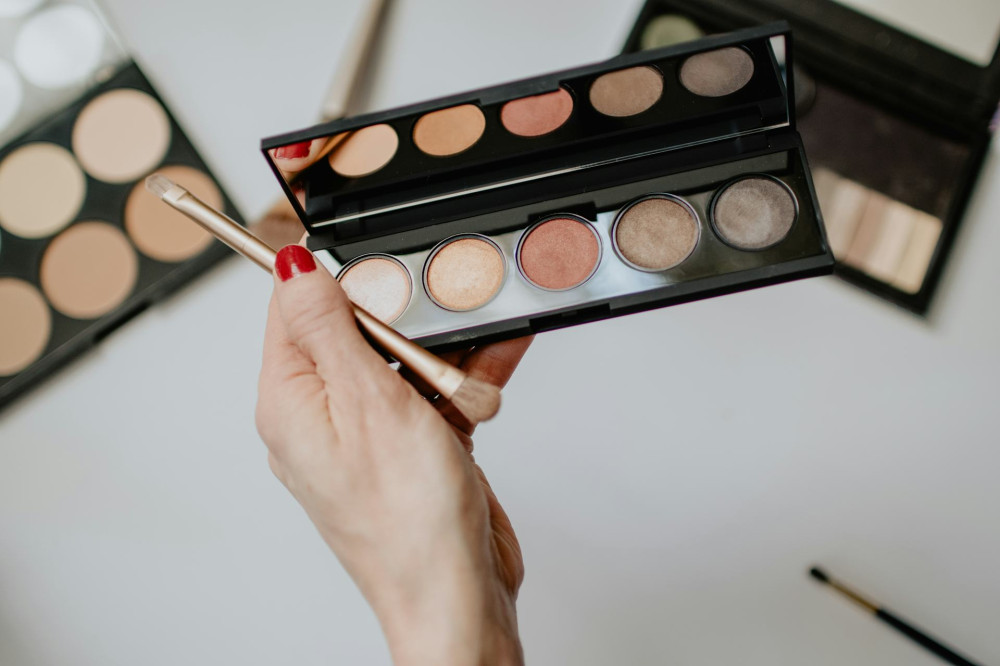
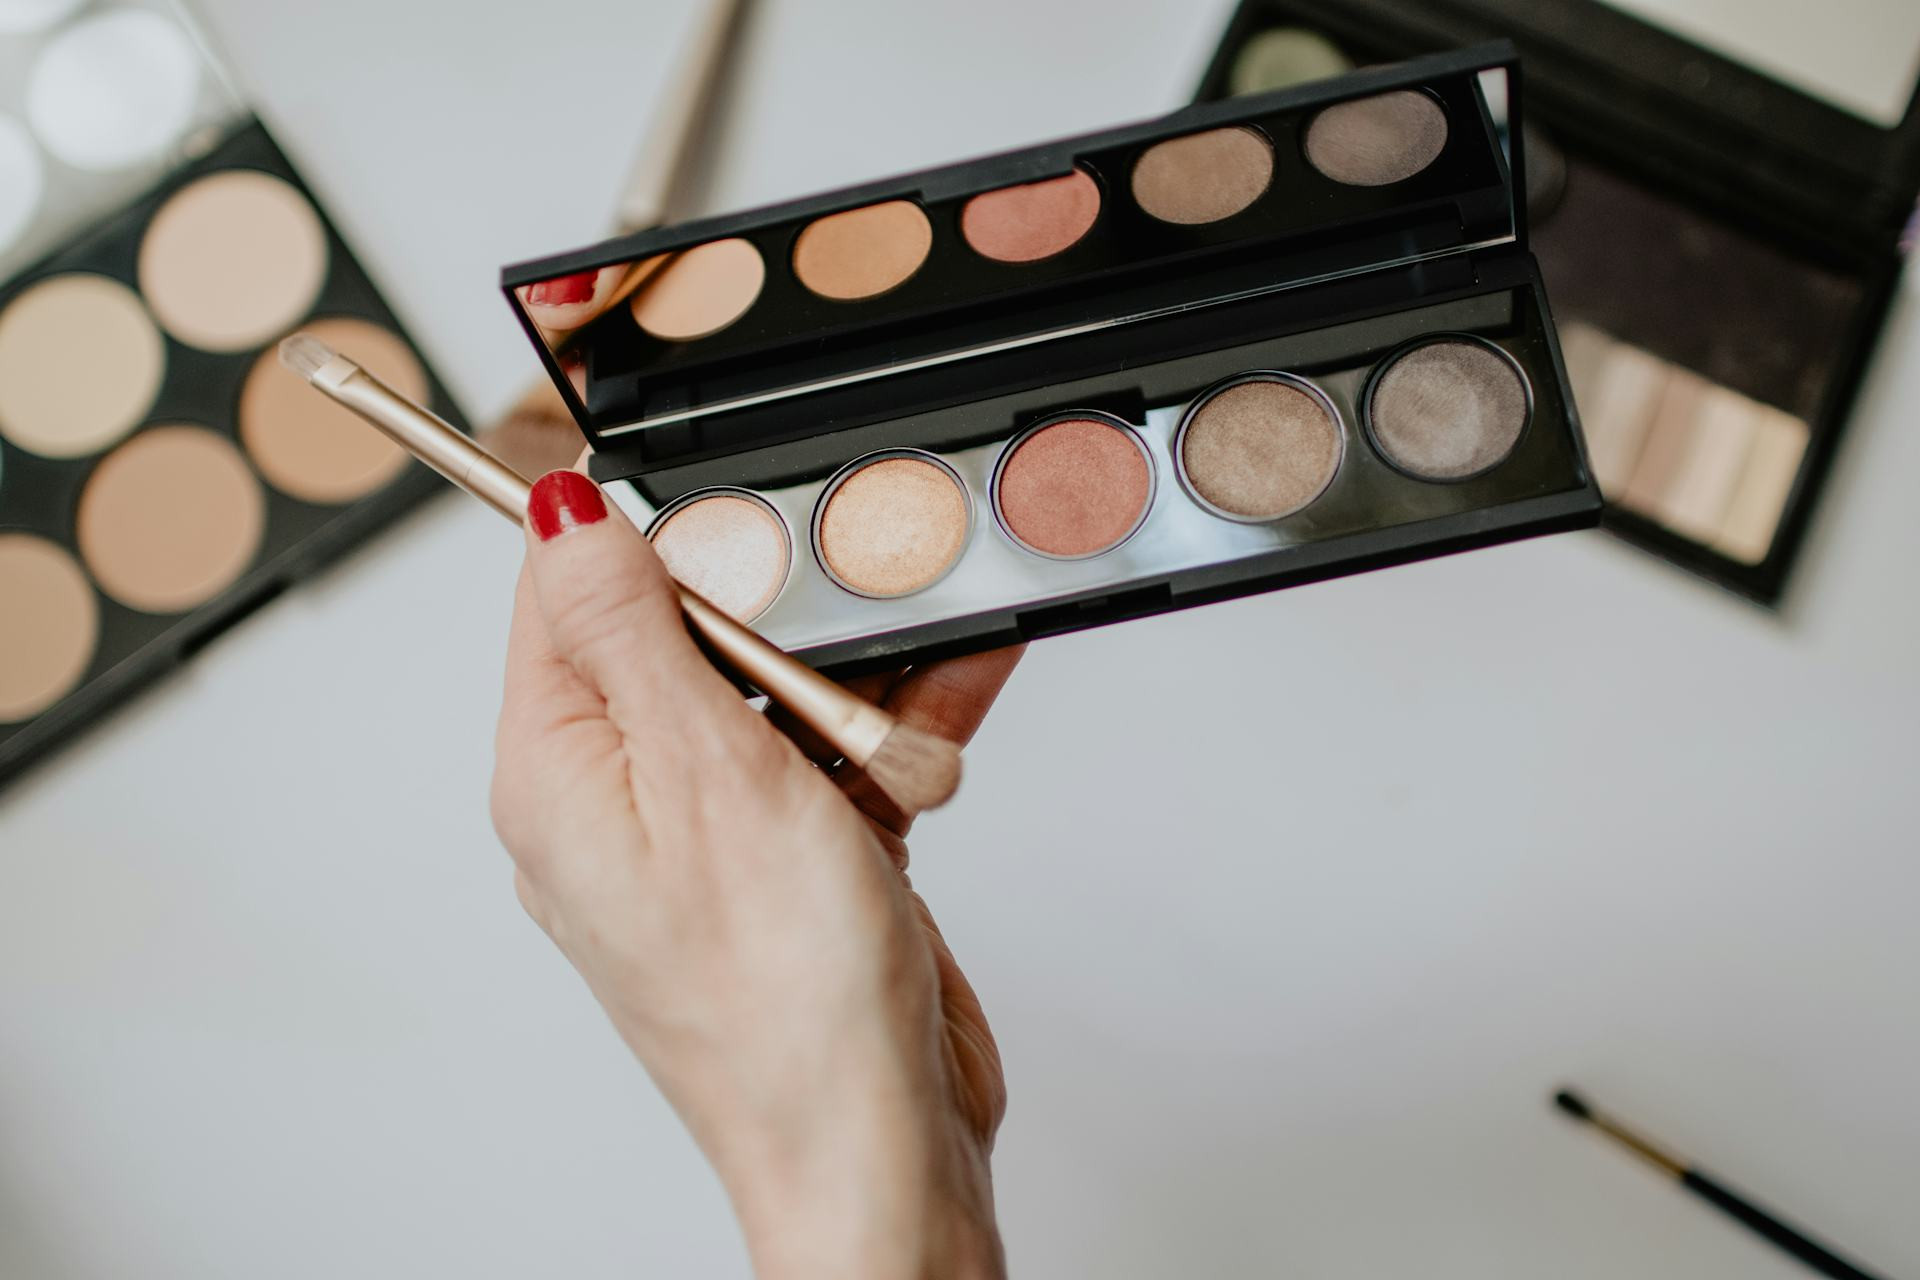
- Eyeshadow: Stick to neutral tones like taupe, bronze, or soft brown. Avoid overly shimmery shades, which can reflect light and look patchy in photos.
- Eyeliner: A thin line along the lash line makes lashes appear fuller. Black or dark brown works for most skin tones.
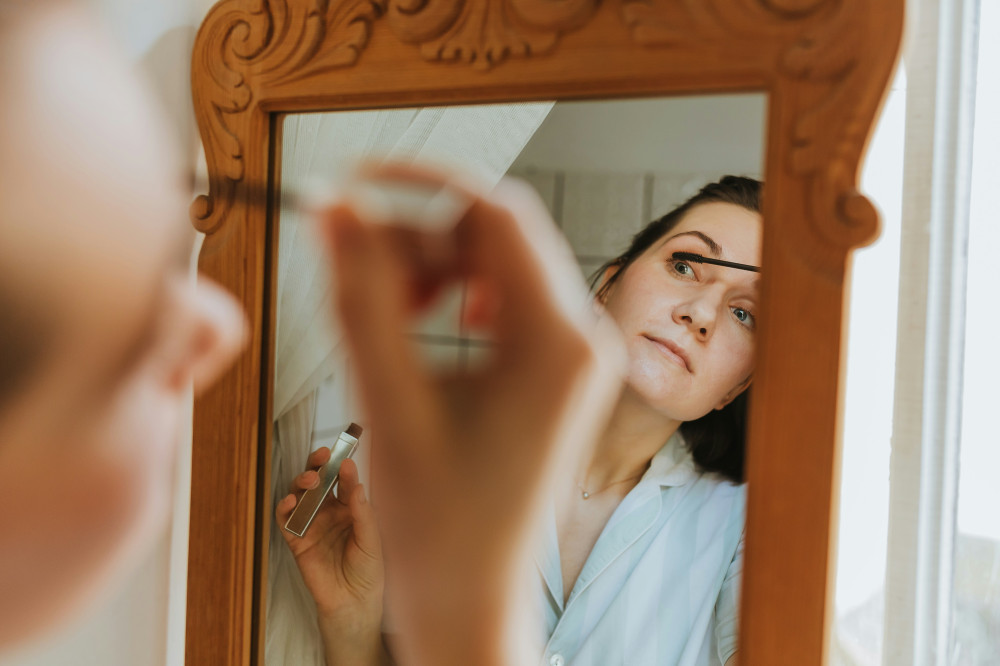
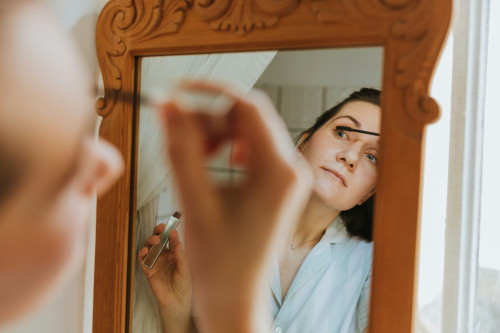
- Mascara: Use a waterproof formula to prevent smudging under hot lights. Two coats will give you volume and definition.
If you’re doing a close-up shoot, consider natural-looking false lashes for extra impact—they open up the eyes without looking heavy.
Lips That Last and Look Natural
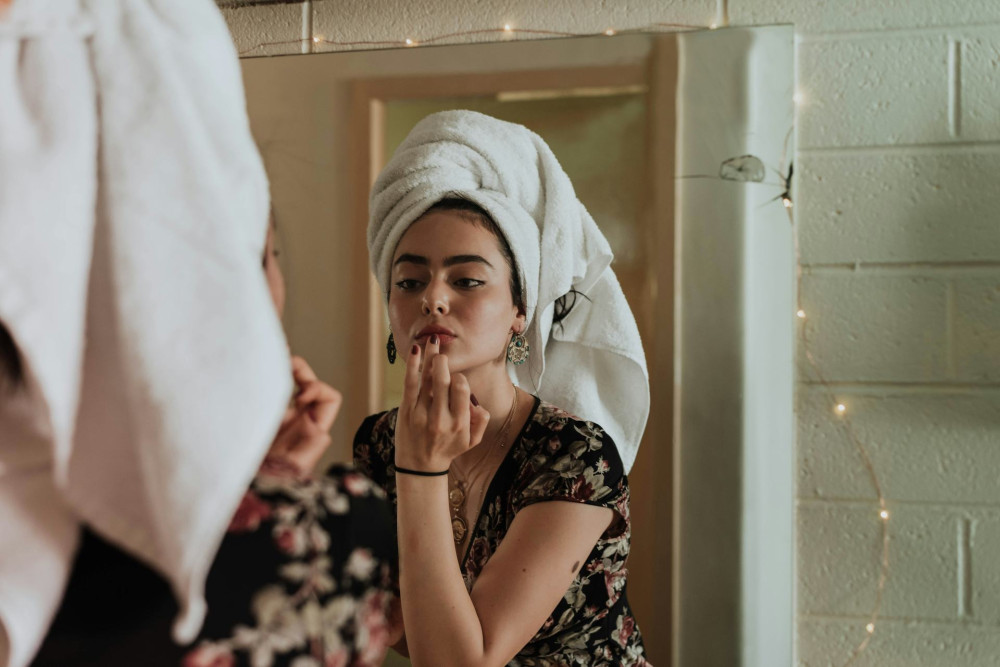
Defined, hydrated lips complete your camera-ready look.
- Prep: Gently exfoliate your lips and apply a nourishing balm.
- Lip Liner: Outline your lips to prevent feathering and to subtly enhance shape.
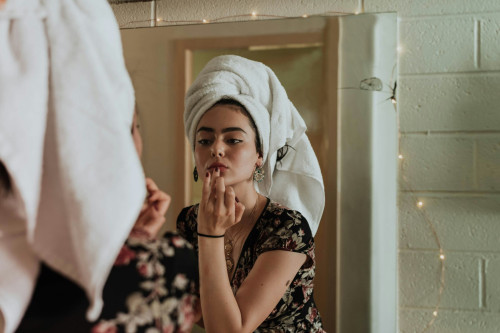
- Lip Color: Choose a shade that complements your skin tone—something close to your natural lip color but slightly deeper. Avoid overly glossy finishes, which can create glare.
Avoid Common Photo Makeup Mistakes
Even small missteps can be noticeable in photos. Here’s how to steer clear of them:
- Too-light foundation: Always test your shade in natural daylight, not just under indoor lighting.
- Excess shimmer: Glittery products can make skin look oily on camera.
- Harsh lines: Blend thoroughly—cameras highlight unblended edges.
- Mismatched neck and face: Extend foundation and contour slightly down the neck for a seamless transition.
Finish with Setting Spray
Once your makeup is complete, mist your face with a setting spray. It helps makeup last longer, reduces any powdery finish, and gives your skin a fresh, natural look—perfect for the camera.
Læs også:
Ready for Your Close-Up
The best camera-ready makeup doesn’t mask your features—it enhances them. With the right prep, balanced definition, and attention to lighting, you can achieve a polished, radiant look that photographs beautifully. Whether you’re stepping in front of a professional lens or snapping a selfie, you’ll be ready to shine with confidence.
Læs også: